
In 2022, there were an estimated 3.37 billion internet users consuming video content. Pretty unbelievable, huh?
Well, despite our super easy accessibility to online video, it’s easy to forget that not all videos are meant for public consumption. While public platforms have their place, there’s a growing need to share videos privately to prioritize security and confidentiality.
Private video hosting solutions are accessible to everyone who values privacy, whether it’s for family videos, wedding videos, or a corporate presentation.
From easy-to-use password protection to clever encryption methods, this guide will help you navigate the world of private video sharing. So you can keep your content safe and sound while enjoying a worry-free sharing experience.
So, come with us on a journey through various methods and platforms that let you protect your videos and keep your private videos between you and the people you trust.
Whether you’re sharing cherished memories or confidential work projects, we’ve got you covered.
1. WeTransfer – the simplest way to privately share videos online
When it comes to sharing videos privately online, WeTransfer is most people’s go-to. Its simplicity, speed, and failsafe security features make it an exceptional option for individual users, professional creators, and businesses sharing private videos.
How to use WeTransfer
- Go to the WeTransfer website. No need to log in!
- Select files – Click the “+ Add your files” button and choose the video you want to share. You can add multiples if you need to.
- Enter the recipient’s email – Pop this in the “Email to” section, you can add multiple addresses if you need to share with a group.
- Add your email address – You can enter this in the “Your email” section. This is where you’ll see all the info and any replies from recipients.
- Set a password – For extra security, you can make sure your video file is password-protected. Click on the padlock icon and enter a password that you can share with the recipients.
- Transfer – Click the “Transfer” button, and your video will begin to upload with a progress bar. Once it’s downloaded, it’ll generate a download link.
- Confirmation email – You’ll then review a confirmation email and download link. Your recipients will also receive this email.
- Expiration date – WeTransfer links have an expiration date, so make sure your recipients download the video before it expires.
That’s it! You’ve successfully and securely shared your video privately through WeTransfer. Even better, your private videos are encrypted during the transfer.
Why choose WeTransfer?
WeTransfer is known for its user-friendly interface. Simply upload your video, enter the recipient’s email, include a personal message (if you want), and send it! You can also add a password for extra security.
WeTransfer pricing and storage limits
WeTransfer offers both free and paid options. The free version allows you to send files up to 2 GB, while WeTransfer Pro at $12/month, offers 100 GB storage with advanced features.
Check out more WeTransfer alternatives in this article.
2. Google Drive – the safest way to share videos privately within your organization
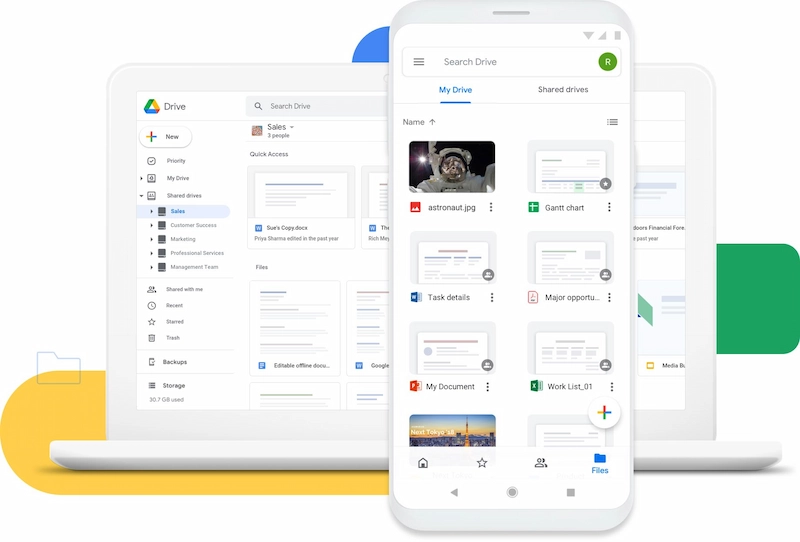
We all know about Google Drive. It’s arguably one of those most well-known and reliable cloud storage providers, offering air-tight privacy features and seamless integration with other Google services. It has all you need to share private videos.
How to use Google Drive
- Upload your video – Sign into your account, click the “+ New” button on the left, and select “File Upload”. Choose the video you want to share from your computer.
- Share the video – Once your video is uploaded, right-click on it, and select “Share.”
- Enter recipient’s email – In the sharing box, enter your recipient’s email address. You can send it to multiple people if you want to.
- Set permissions – With Google Drive you have complete control of privacy. You can select the level of access you want to grant. Select either “Viewer” or “Editor” if you’d like them to only view the video, or if you’d like them to make changes.
- Send – Click the “Send” button and an email will be sent to the recipients with a link to access the video.
Enjoy! Your video is now securely shared on Google Drive.
Why choose Google Drive?
Google Drive integrates seamlessly with Gmail, making private video sharing effortless. With this, you have control over access permissions and deciding who can view and edit your videos.
Google Drive pricing and storage limits
Google Drive provides 15 GB of free storage. If you need more space, Google One plans start at $1.99/month for 100 GB storage.
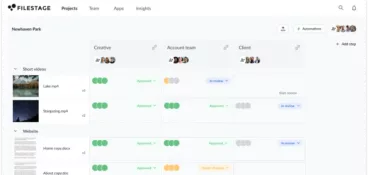
3. Filestage – best private video hosting platform for review and approval
If you’re involved in production, editing, or collaboration, you need ways to share your large files via email. Something specifically designed to keep these processes streamlined. That’s where Filestage comes in.
Filestage is a specialized platform that’s designed to revolutionize collaboration and speed up the feedback process. Whether you’re a creative professional, marketing team, or a video content creation business. Filestage simplifies the review and approval process, whilst keeping your private videos safe.
How to use Filestage for private video sharing
- Sign up – Register or log in to Filestage.
- Create a project – Start by creating a project and giving it a name.
- Upload your video – Click the “+ Upload” button or simply drag and drop your video file into the workspace.
- Invite your stakeholders to give feedback – Add your stakeholders to a reviewer group so that they can add feedback in one collaborative workspace.
- Turn on password protection – Tap the cog icon at the top of your reviewer group to open your settings, then click the toggle next to “Password protection” to turn it on.
- Version history – You can make revisions and keep a clear version history, allowing you to see how the video has evolved during the review process.
- Finalize and share – Once your video is ready for sharing, you can easily export it or share it securely with stakeholders, collaborators, and audiences.
Why choose Filestage?
The online proofing software offers unique benefits for those involved in video collaboration:
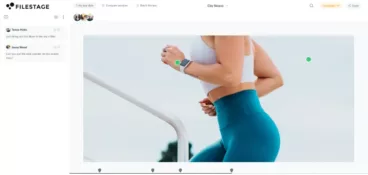
- Video playback – You and your stakeholders can watch videos in your browser without needing to download a thing.
- Precise feedback – The timeline-based feedback system ensures that the feedback is easy to understand, reducing the need for unnecessary back-and-forth information and crossed-wires.
- Efficiency – Filestage streamlines the review and approval process, helping you to work more efficiently and meet deadlines across all your videos.
- Professionalism – Customizable branding options allow you to present your video projects in a professional and cohesive manner.
- Version control – Keep track of version history, ensuring you always have access to previous iterations.
- Flexible plans – Filestage offers a range of plans to accommodate different needs, from individual creators to large organizations.

“Filestage makes our approval process much more thorough. Our designer simply uploads a video and all reviewers can comment and select the area where the changes need to be made.”
Naeran Rubio, Associate Director of Content & Communications at Sharp
Filestage pricing and storage limits
Filestage’s Free plan gives you 1 active project, 10 team members and unlimited reviewers. You then have three paid options if you need more space:
- Starter, $199/month – unlimited active projects and new files plus due date and reminders
- Business, $329/month – everything in Starter plus AI reviewers, automations and project templates
- Enterprise, contact sales for pricing – centralized organizational controls plus advanced security features
Supercharge your video review rounds
See how Sharp, Sixt, and GroupM make video feedback quick and easy for everyone.
4. Vimeo – password protect your video files for secure sharing
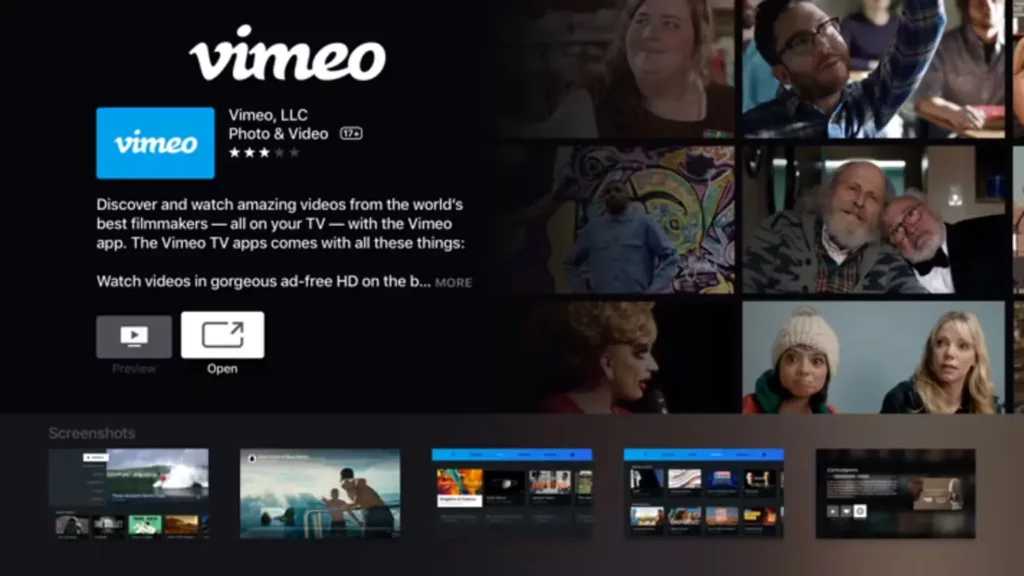
Vimeo is known as a high-quality video hosting platform with excellent privacy features. This makes it a great choice for both individuals and businesses looking to share videos privately.
How to use Vimeo
- Upload your video – Sign in or register to Vimeo, click the “+ New Video” button in the top-right corner, and upload your video.
- Privacy settings – Once your video is uploaded, you’ll be prompted to select privacy settings. You can choose from options such as, “Anyone can see”, “Only people with a password”, or “Only people I follow”.
- Password protection – This is an optional step, but if you want to increase your video’s privacy settings you can select “Only people with a password” and set your own password for the video.
- Restrict access – Another optional step, you can further restrict access by specifying email addresses of the recipients who can view the video.
- Save – Click the “Save” or “Publish” button to apply your privacy settings.
- Share the video – Once your video is published, you can share it with the “Share” button, copy the video’s URL, or directly send it to recipients via email.
Why choose Vimeo?
Vimeo is a platform that allows you to share videos privately and securely. It caters specifically to professionals, so it’s perfect for both businesses and freelancers. You can upload your video, customize privacy settings with password protection and private links, and access video analytics.
Vimeo pricing and plans
Vimeo offers a free Basic plan, allowing up to 500 MB of video uploads per week. Vimeo offers paid plans, with Plus at $7/month with 5 GB of storage and Vimeo Pro with 200 GB of storage and advanced privacy settings for $20/month.
5. Dropbox – upload videos to your own private drive
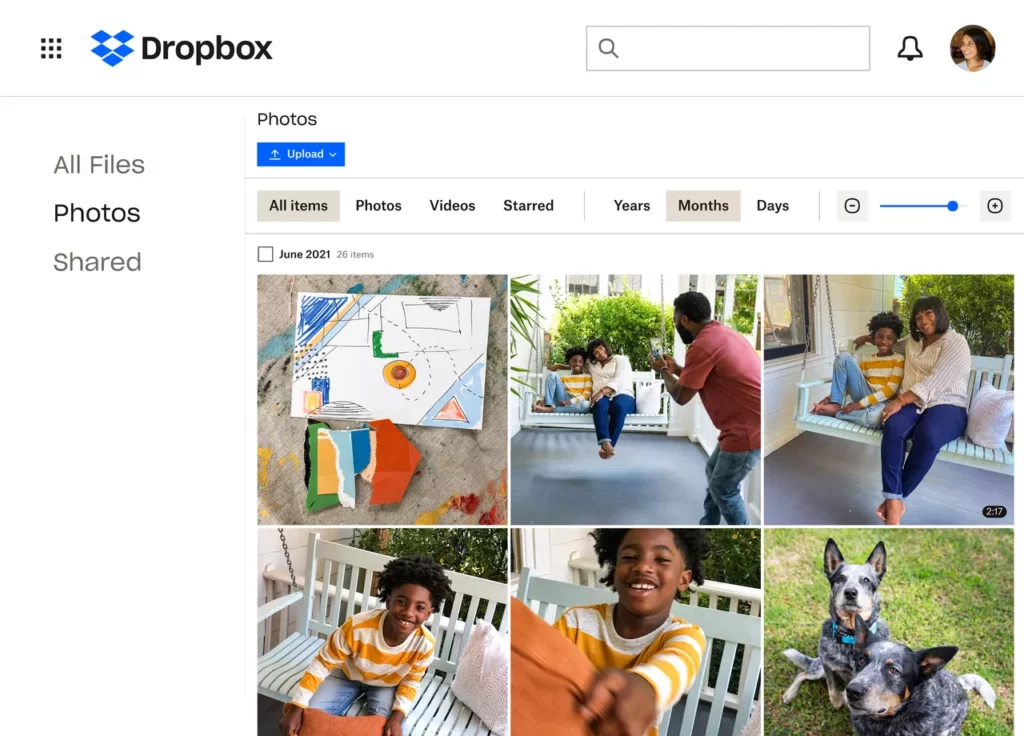
Widely used for sharing files, including videos, Dropbox’s user-friendly interface and strong security features make it a top choice for private video sharing.
How to use Dropbox
- Upload your video – Sign in or create your Dropbox account. Click “Upload files” and select the video you want to share.
- Locate the video – Once your video is uploaded, navigate to the folder where it’s stored in your Dropbox workspace.
- Share your video – Right-click on the video, and a context menu will appear. Select “Share” from the context menu. In the sharing dialog box, enter the email addresses of the people you want to share the video with. You can include a message if you like!
- Set permissions – Choose whether you want to give recipients viewing or editing access.
- Set a password – For added security, you can set a password for the shared link and distribute it among recipients.
- Expiration date – You can set an expiration date if you’d like access to your private videos to expire after a certain amount of time.
- Send – Click the “Send” button and an email containing an access link will be sent to recipients.
Why choose Dropbox?
More than just storage, Dropbox is a top-tier option if you need to share videos privately. It offers quick and easy sharing, with password protection and expiration settings for shared links.
Dropbox pricing and plans
Dropbox Basic is free and offers 2 GB of storage, with Dropbox Plus starting at $9.99/month for 2 TB of storage.
Check out our full list of best Dropbox alternatives.
6. Send Anywhere – fast and secure file sharing for private videos
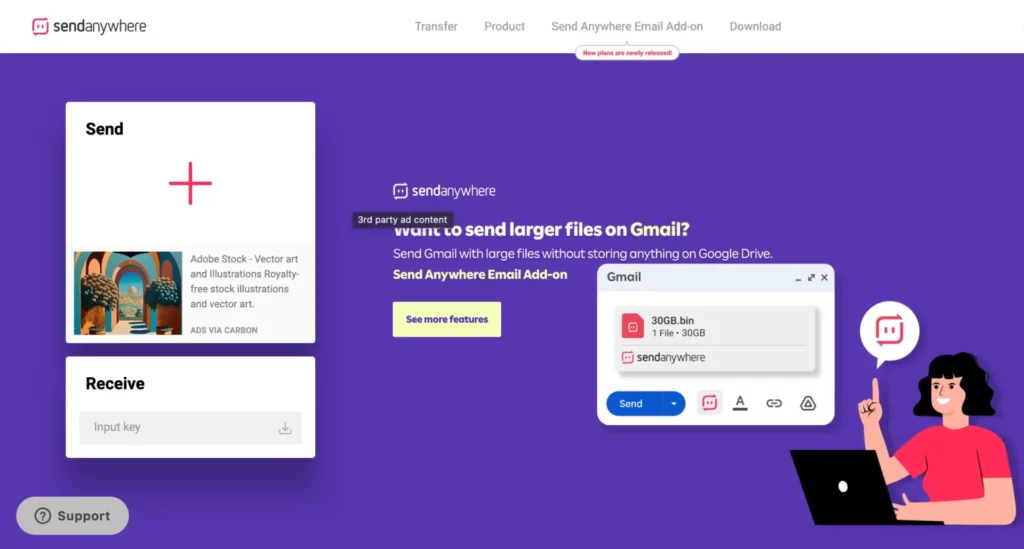
Send Anywhere is an ideal option for those who prioritize speed, security, and simplicity in private video sharing.
How to use Send Anywhere
- Access Send Anywhere – Visit the website or download the app on your device.
- Select your video – Click the “Send” button on the website or in the app. Then select the video you want to share from your device.
- Create a shareable link – Send Anywhere will generate a unique six-digit code, or an optional shareable link.
- Share the code or link – Share the six-digit code or link it with your intended recipients. They can then enter the code on the website or app to start the download.
- Secure transfer – The video is then securely transferred to the recipients and they can save it to their device.
- Expiration – If you want to, you can set an expiration date for the link. This can be done in Settings.
Why choose Send Anywhere?
Send Anywhere is known for its speed and security, sending files in 1:1 real time. It utilizes end-to-end encryption and allows you to share videos quickly, without the need for recipients to create an account.
Send Anywhere pricing and plans
Send Anywhere offers a free plan with basic features, with link creation up to 10 GB. Or you can subscribe to Send Anywhere Plus, which starts at $5.99/month and includes 50 GB of storage.
7. OneDrive – versatile and secure cloud sharing for videos
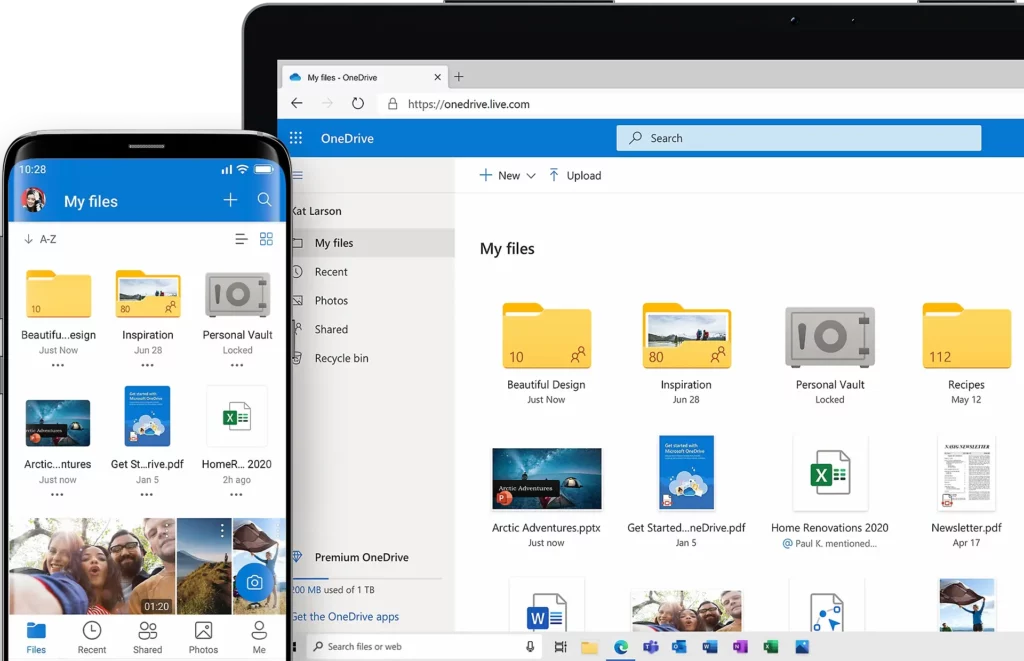
OneDrive is Microsoft’s file sharing solution and one of the most well-known cloud storage providers. It’s a versatile platform for private video sharing, especially for those invested in the Microsoft ecosystem.
How to use OneDrive
- Access OneDrive – Sign in to your OneDrive account, or create one if you don’t already have it. You can access this through desktop or the downloadable app.
- Upload your video – Click the “Upload” button and select the video you want to share. Your video will then be uploaded to your OneDrive storage.
- Share the video – Once your video is uploaded, right-click and select “Share.”
- Choose recipients – In the sharing dialog, you can enter multiple email addresses to send your video to.
- Set permissions – Choose whether recipients can edit or only view your video.
- Send – Once you’ve sent the video, recipients will receive a link where they can access the video.
Voila! Your video is now securely shared via OneDrive, with access controlled by the permissions you’ve set.
Why choose OneDrive?
OneDrive integrates seamlessly into the rest of the Microsoft system, making it ideal for those who already use it. You can easily share videos privately, share permissions, and collaborate on Office documents.
OneDrive pricing and plans
OneDrive offers 5 GB of free storage. Alternatively, you can invest in more storage with a Microsoft 365 Personal account. This starts at $6.99/month with 1 TB of storage.
Final thoughts
Whether it’s for personal moments like family videos, creative projects, or sensitive business data, sharing videos privately online is essential. These platforms offer top-tier options for secure video sharing, catering to different needs and preferences.
Filestage, specifically, serves as a game-changing tool for those involved in video production and collaboration. Its timeline-based feedback system, version control, and customizable branding make it an invaluable asset for a streamlined review and approval process.
So, the next time you need to privately share a video, give Filestage a try →