Video production has become more important than ever for businesses. That’s because video content is being consumed more than any other medium. In fact, video is responsible for a staggering 82% of global internet traffic.
If you’re about to take the leap into a new video project, then you’ll want to know where to begin. The process of video production is busy (but exciting) one that spans everything from ideation and planning to filming, collecting feedback, and getting approval.
In this guide, we’ll walk you through the video production process from start to finish and explain how video review software can help. Let’s get started.
What is video production?
Video production is the process of creating video content. That might be for a film, a commercial, or an explainer. For TV, for your website, or for social media.
What is the video production process?
The video production process can be split up into three distinct phases:
- Pre-production – planning the video project
- Production – shooting or animating the content
- Post-production – editing and delivering the finished video
The pre-production phase is usually the longest part of a video project. This is where the video production team collaborates with an agency or client to make sure everything is ready for the big day (or days). Think of it as the calm before the storm.
Next comes the production phase. This is where the magic happens and the idea finally starts to come to life. But even if you’ve done everything perfect in the pre-production phase, surprises are sure to spring up. So all great producers know to plan for the worst and hope for the best.
And last but not least, the post-production phase. This is where the actual video takes shape through a combination of editing, sound mixing, and color grading.
Let’s take a look at video production process steps in more detail.
Phase 1: Pre-production – planning the video project
Pre-production is the longest phase of the video production process. It’s all about planning. Good planning is integral to a successful shoot and extends from the moment you decide to make a video right up until the point where you start shooting or animating.
Here’s an overview of what’s included in the pre-production phase:
- Defining the roles and responsibilities of your video team
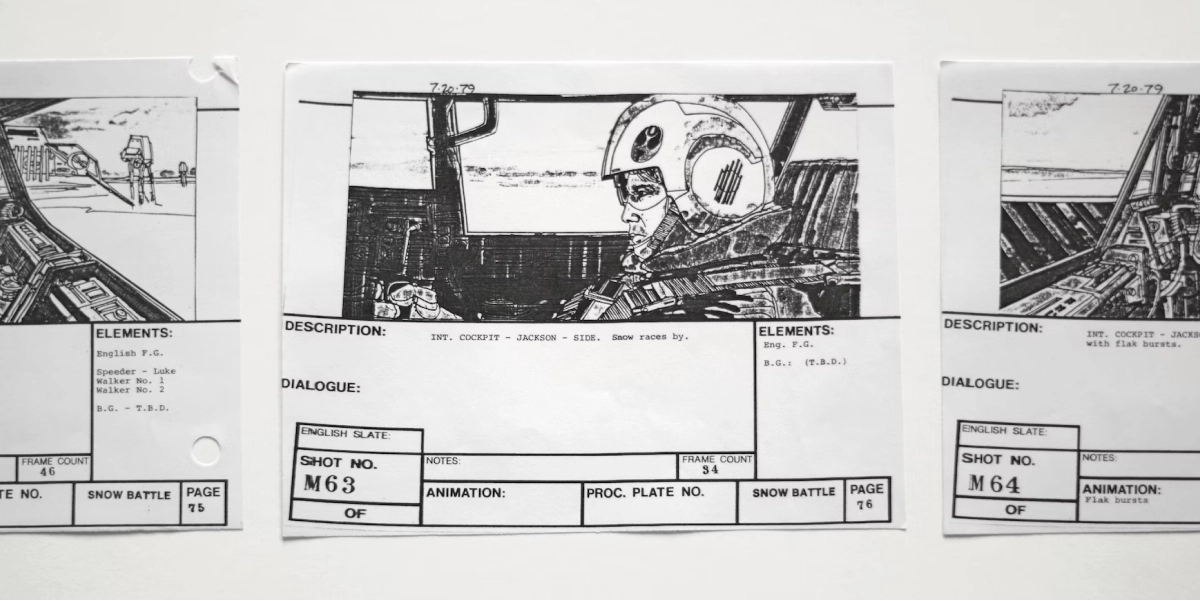
- Creating a script and storyboard
- Sourcing actors and models
- Scouting locations
- Setting out your project timeline
- Hiring production equipment like cameras, lenses, and lights
- Ordering props
- Arranging transportation for people and equipment
- Sorting out food and drinks for the shoot
- Creating a contingency plan in case things go wrong (e.g. bad weather)
In video pre-production process you’ll determine what you’re going to produce, who your audience will be, what resources you’ll need, and your budgets and timelines. You’ll also map out the full plan for the video, including a script, shooting locations, talent, and a schedule.
We’ve broken this phase down into bite-size pieces. Allow plenty of time to work through each of these steps to ensure the rest of the process runs smoothly.
Define what you need to create and why
First things first, define the objectives of the video. Why are you making it? Determine who your audience is and research their common problems, their interests, and what they watch. How will the video benefit them? Think about the core message you want to get across to them and put this at the center of your strategy.
Then turn your attention to your budget and timeline. Be realistic with both, and carefully consider how you will stay within budget and meet your deadline.
Write your script and storyboard
Now for the creative part. Decide on your creative approach and brainstorm what your video should include. Write your script, and create your storyboard to visualize how your video will be shot.
Using the script and storyboard, create a plan of the people, places, and equipment you’ll need to get these shots.
Find the best locations to set the scene
If your video is live action (rather than animated), now’s the time to scout locations for your shoot. If you need to shoot outside or at a specific location, you might need to get permission ahead of shooting. If you’re filming outside, make sure you have a backup plan in case it rains!
Organize equipment that’ll help you get the money shot(s)
The main equipment you’ll need for the production stage of the video production process is a camera, a microphone, and lighting. Or if you’re creating an animated video you might need to get your hands on some specialist software.
Check your storyboard for any extra equipment you might need.
Search for talent to bring your script to life
This might mean professional actors or voiceover artists. Or it could simply mean employees or customers. When casting talent, keep referring back to the message you want your video to put across, and make sure you find personalities to match.
Schedule the shoot to ensure smooth running on the day
The pre-production phase of the process is nearly complete. All that’s left to do is schedule the shoot. Consider your deadline and the availability of your talent and shooting location before locking in a date.
Then plan a schedule for the day itself. Think about how much you need to get done and the distance between locations. Ensure equipment and crew are sorted, as well as makeup and wardrobe.
Once that’s done, it’s time to move on to the next phase. Production.
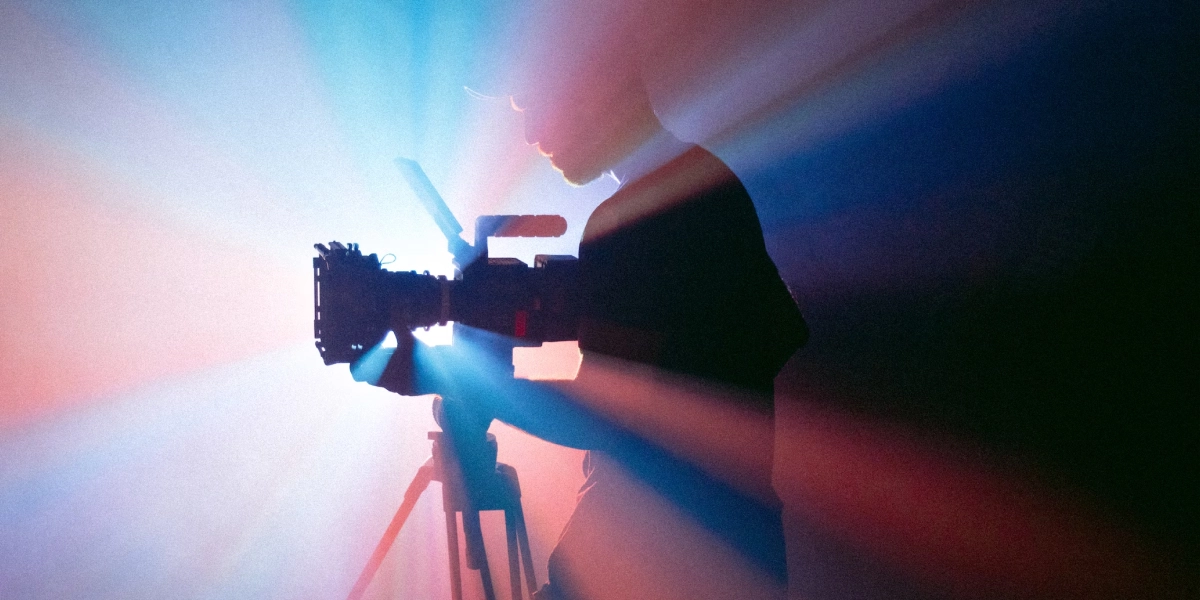
Phase 2: Production – shooting or animating the content
The production phase is where the actual filming and animation takes place. And if you’re recording a voiceover or producing an original track for your video, that happens here too.
Here’s a quick overview of everything that’s included in the production phase:
- Travelling to the shoot location
- Setting up lighting and camera equipment
- Dressing the scene with props
- Getting actors and models ready with hair, makeup, and outfits
- Capturing footage or creating animations
- Recording a voiceover
- Production an original audio track
As part of the production phase, you may also want to capture B-roll footage for behind the scenes content. This often makes for great social media content and helps make your budget go a little further.
Below, we’ll dive into a couple of those topics in a little more detail.
Set up your equipment
Allow plenty of time ahead of your shoot to set up your camera and lighting at your selected location. If you’re moving between locations or taking lots of different types of shots, make sure you’ve factored enough setup time into your schedule so that you don’t end up running behind.
Rehearse
It’s always worth having a run-through before you start filming to ensure that everyone knows what they’re doing and everything is in order.
And action!
Switch the camera on and start filming. Refer back to your storyboard to ensure you get all the shots you need and keep an eye on your schedule to ensure you’re sticking to the set timings.
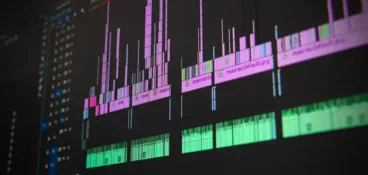
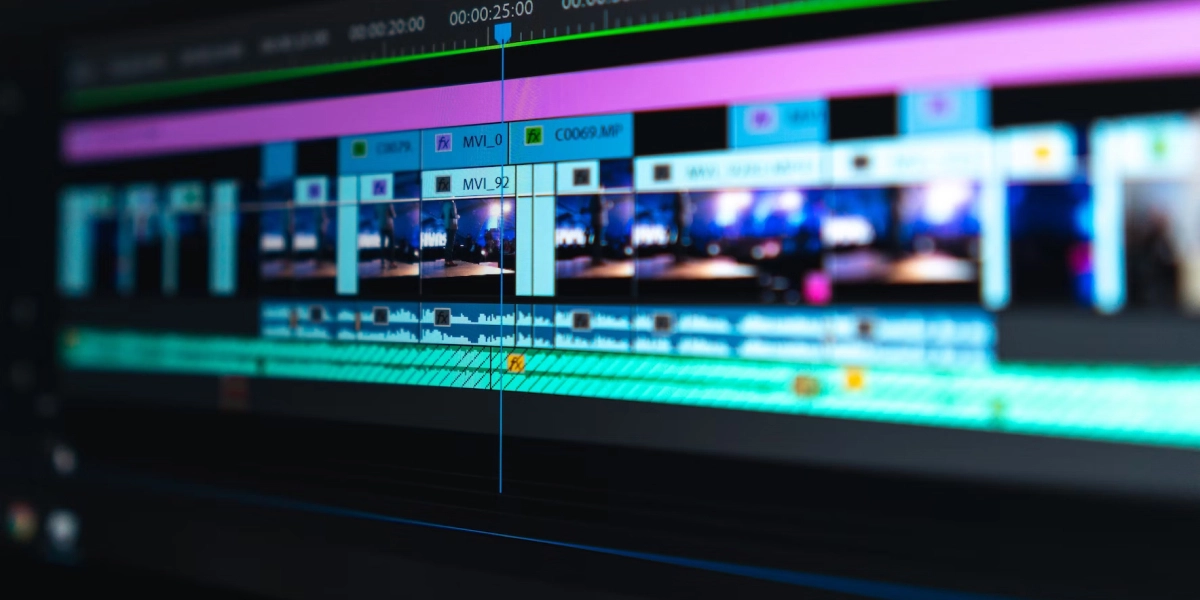
Phase 3: Post-production – editing and delivering the finished video
The third and final stage in the video production process is post-production. The video post production process involves taking all of your footage, editing it, and getting it reviewed and signed off ready to distribute.
Here’s a quick roundup of everything that’s included in the post-production phase:
- Sorting and organizing the raw footage
- Choosing selects for your final edit
- Editing the video or animation to tell your story
- Mixing the sound, voice, and music tracks
- Cropping and editing the video for different formats
- Managing feedback to get final approval
- Delivering the finished video
We’ll go into more detail on some of these areas below. And if you’re looking for tools to turn your raw files into professional edits, check out the best post-production software.
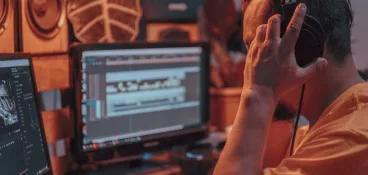
Edit your video
It’s time to make the magic happen! Compile all of your best takes and get them in a rough order (referring back to your script and storyboard). Get rid of anything you don’t need, cut down each clip to the right length, and stitch it all together.
Add graphics
Graphics, animation, and text can help bring your video to life by emphasizing important points and visualizing ideas. This can help make information easier to process and boost viewer engagement.
You might want to add a graph to highlight a key statistic. Or an animated clip to help explain a complex concept. Or you might just want to add your brand’s logo.
Record a voiceover
Now that the structure of your video is all worked out, you can record a voiceover (if your video needs one), edit it, and add it to your video.
Add sound
Adding background music and sound effects that complement the mood and tone of your video will take your final edit to a whole new level. It’ll make it more engaging for viewers, and it can even help communicate your core message.
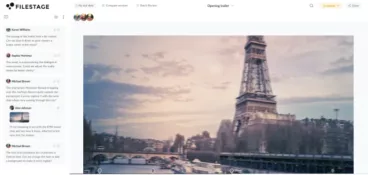
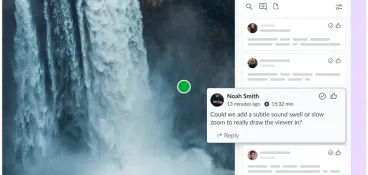
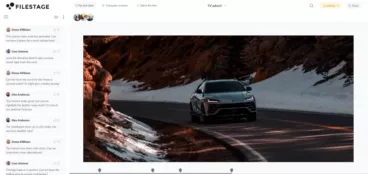
Send it for review
Once you’re happy, you can share your final edit with your stakeholders and collect their feedback.
While there are a number of video sharing tools out there, we recommend using Filestage. Our platform makes it easy for you to get in-context feedback from all of your stakeholders, in one place. So you can see exactly what needs amending, and get your video signed off and published in record time.
All approved and ready to publish? Render your video in the appropriate format (MP4 is usually best). Upload it to your chosen hosting platform. And promote it via your website, social media, and newsletters so that it reaches your desired audience (and beyond)!
Supercharge your video review rounds
See how Sharp, Sixt, and GroupM make video feedback quick and easy for everyone.
Why is the video production process important?
Having a standardized video production process without skipping any necessary steps will help you create great video content. This means that your videos will always follow the vision and fulfil the goals that are set in the beginning of the process.
Plus, everyone involved with the process will know the status of the video project at all times and have an opportunity to make changes if needed.
How to create an effective video production workflow
With Filestage, you can set up a video production workflow template and streamline video asset management across multiple projects. This lets you create review steps and add your reviewers in advance. So when you create your project, everything’s ready to go.
Here’s a quick example of a video production workflow template:
- Video production review step
- Director
- Director of photography
- Project manager
- Video editor
- Advertising agency review step
- Creative director
- Art director
- Copywriter
- Creative
- Client review step
- Brand manager
- Marketing manager
- Product manager
- Legal specialist
Final thoughts
With careful planning, good organization, and a focused strategy, you’ll soon be creating professional-grade videos that will appeal to your target audience and help you meet your business’ KPIs.
To get your video content published even sooner, book a free trial with Filestage today to see how it could help to make your feedback and approval process quicker, easier, and more collaborative.