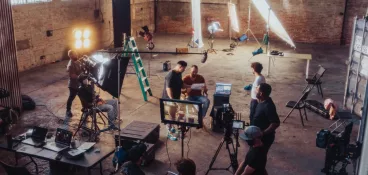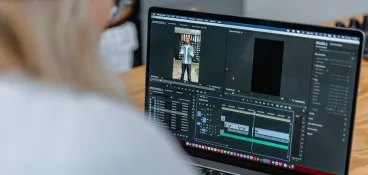

Video post-production can involve a lot of different players on a lot of different teams. Especially when it comes to review and approval. From video editors and creative directors all the way through to brand managers and legal teams, chances are there are going to be a lot of people who want to have their say before your video is published.
And with so many moving parts, things can get complicated. Fast.
That’s why it’s vital to have a well-planned video post-production workflow in place. By clearly setting out who’s involved at which step of the process, you’ll make review and approval infinitely quicker and easier.
Use this guide to plan your video post-production workflow. We’ll start off by outlining the typical post-production process, then take a look at who might be involved in each step, depending on whether you work at a video production company, an advertising agency, or in-house.
The key steps of the video post-production process
The video post-production process is made up of several steps, which typically include:
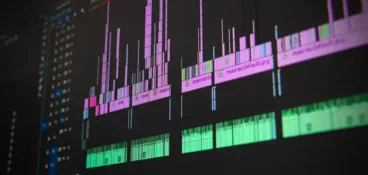
- Video editing – create a rough cut with all the shots in the right order. Maybe with a guide voiceover and a couple of different options for music.
- Visual effects – start adding flourishes like titles, transitions, and more complex visual effects.
- Sound mixing – add the final voiceover and sound effects to the video, then adjust the levels to make sure everything works perfectly.
- Color grading: get the colors just right for the aesthetic you’re going for.
Think of this as your post-production checklist to take you from raw footage to a beautiful work of art. This, and the order it’s done, can vary depending on the video project you’re working on.
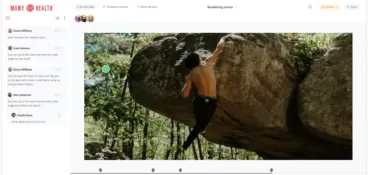
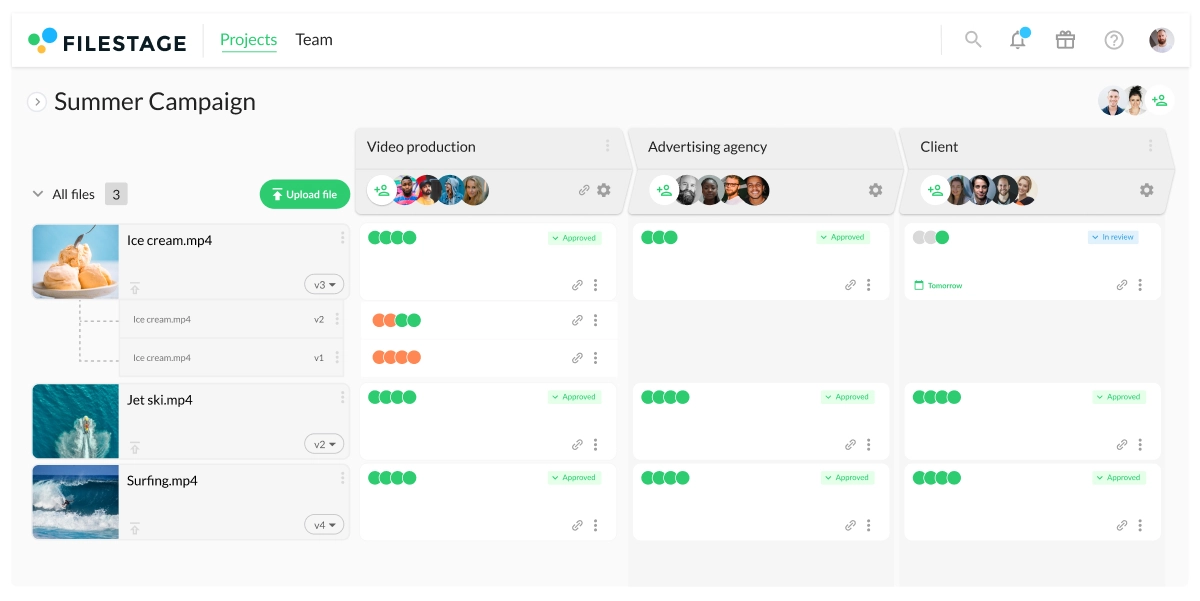
With Filestage’s video review software, you can manage feedback on your video until you’ve completed all of these steps. Your reviewers can draw on videos, create shapes, and add all relevant information for a more visual feedback.
Three video post-production workflow examples
Different reviewers will be involved at different steps in the process. And who’s involved varies depending on where you work.
Here are three examples of what a video post-production workflow can look like.
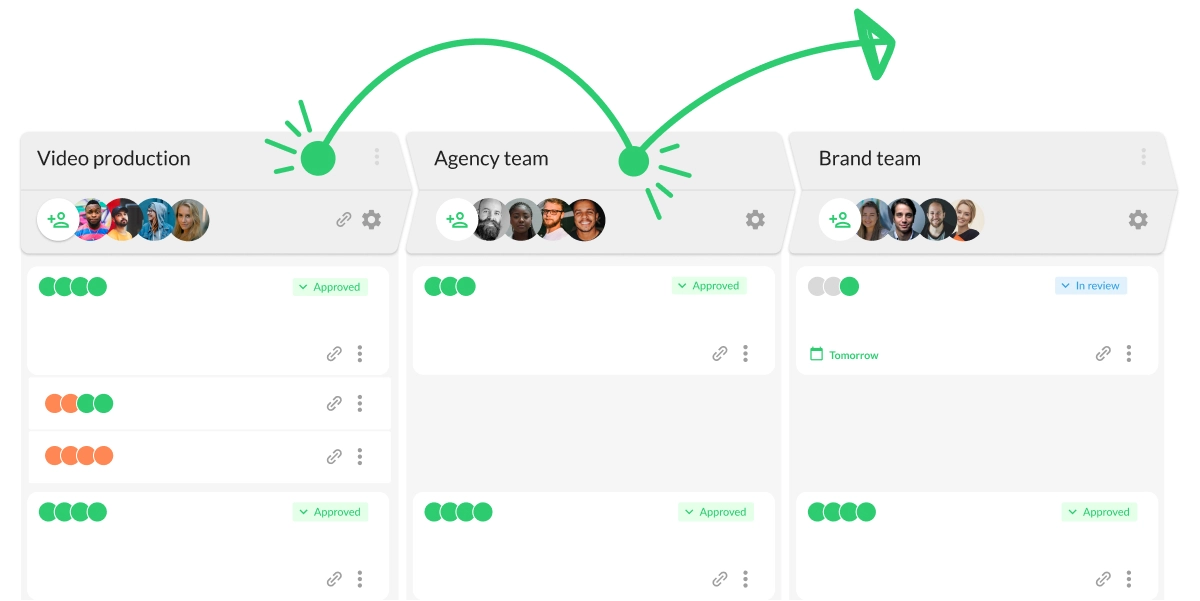
1. Video production company
Video production companies are the cream of the crop when it comes to creating videos for your brand. They can take on big productions like big-budget promo videos and TV and cinema commercials.
At a video production company, the following stakeholders are usually involved:
Internal team
The internal team will likely be involved in every step of the process. They’ll give feedback on the technical side of the content, like which shots have been chosen, how they’ve been cropped or color-graded, and the sound effects that have been added.
They’ll make sure the video delivers on what was agreed with their client contacts (in this case, an agency).
This review step may include:
- Video editor
- Director
- Project manager
- Director of photography
Agency team
The agency team will give feedback on the broader look and feel of the content and the story it tells, generally without getting too technical. They’ll discuss things like voiceover options, music, and pacing, to make sure it feels right for the brand and will connect with the audience.
This team might include:
- Creative director
- Art director
- Copywriter
- Creative
Brand team
The brand team will give feedback further down the line. They’ll look at the nitty-gritty of the content and how the products or services are presented. Their priorities are making sure everything is accurate and on brand, and ready to be published.
This review step may include:
- Brand manager
- Marketing manager
- Product manager
- Medical expert
- Legal specialist
2. Advertising agency
In the last 10 years, advertising agencies have been snapping up video editors like hotcakes. That’s largely because of the rise of social media and businesses wanting to up their game when it comes to creating social media content.
For agencies, the sign-off process could be broken down into these steps:
Agency team
This team will be responsible for making sure the video is high quality and something that the agency will be proud to put its name on. They’ll also make sure it meets the brief and the brand of the client.
This team might include:
- Art director
- Creative
- Creative director
- Project manager
- Account manager
Client team
The brand and marketing teams client-side will want to give feedback on how the brand and its products or services are portrayed. They’ll make sure everything is perfectly on brand, from the music choices through to the colors used.
This review step may include:
- Brand team
- Marketing team
Extended client team
The final step in the process will be getting approval from the legal team and product specialists. They’ll deep dive into the finer details, ensuring all the information included is 100% accurate and compliant.
This review step may include:
- Legal expert
- Medical director
- Product specialist
- CEO

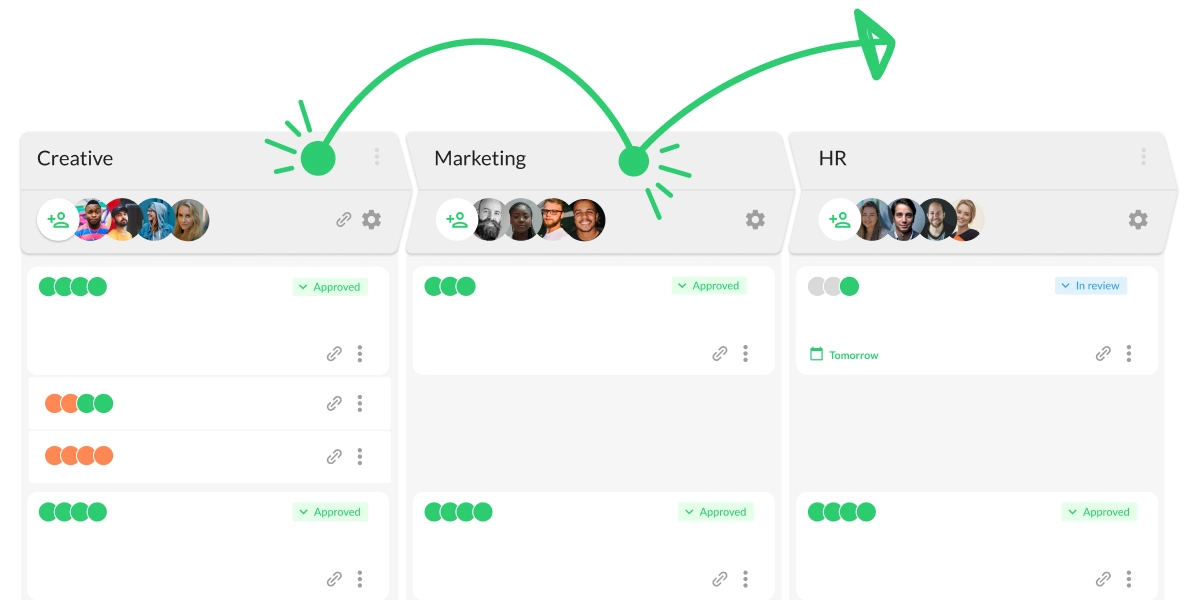
3. In-house marketing team
In-house marketing teams are on the rise, with a recent study showing that 97% of businesses have moved at least part of their digital marketing in-house this year.
For in-house video post-production, the following teams are likely to be involved.
Creative team
They’ll be involved at every step, providing feedback on everything from the order of the shots to the visual effects and sound levels.
Brand and marketing
The in-house brand and marketing team will be brought in further down the line to make sure everything is perfectly on brand and targeted at the right audience.
Other stakeholders
Depending on the job, there might be other stakeholders involved towards the end of the process. If it’s a sales video, it might be the Head of Sales. For social content, it might be the Head of Social. For recruitment content, it might be Head of People.
How to set up your video post-production workflow in Filestage
Filestage is designed to simplify the feedback and approval side of your video post-production workflow. You can share edits, manage versions, and collect comments right on top of your videos – all in one place. And with status indicators for each reviewer, you always know exactly where you are in the review process.
Here’s how it works in six simple steps:
- Create a project
- Set up review steps and invite reviewers
- Upload files and set due dates
- Collect feedback from reviewers
- Collaborate until you get approval
- Repeat for remaining review steps
Think of this as your post-production checklist for delivering video projects!
Learn more about running your video review and approval process online with Filestage.
Five post-production software for every situation
For a fast and efficient post-production process, you’ll need a great video sharing platform to help you along the way. Check out the video, and discover which post-production software to use in any situation.
Frequently asked questions about video post-production
What is post-production?
Post-production is the final step in the video production process. It involves taking all your footage, editing it, and getting it reviewed and signed off, ready for distribution.
What is post-production in film?
In film, post-production is the process of editing together raw footage, adding visual effects, adding music and sound effects, and color grading a film. By the end, it’ll be a professional, blockbuster-standard edit!
What’s involved in video post-production?
The video post-production process involves a range of specialists, including video editors, sound engineers, and color graders. They’re responsible for piecing all your video and audio elements together to create the perfect video for your brand.
It can be a lengthy process, with lots of stakeholders providing feedback at different stages. For this reason, it’s important to have a thorough video post-production workflow in place.
What is audio post-production?
Audio post-production is separate from the visual part of the post-production process and involves adding, manipulating, and processing sound. The process might include:
- Sound design
- Foley recording
- Dialogue editing
- Voiceover recording
- Music editing
- ADR (Automated Dialogue Replacement)
- Sound effects editing
- Audio restoration
- Mixing and mastering
Final thoughts
I hope you’ve found this guide to setting up your video post-production workflow useful. With a clear and well-planned workflow, the review and approval process will be made infinitely easier.
And Filestage can help make things even more so. Our tool gives you the power to manage stakeholders, collect in-context feedback, master version control, and hit your deadlines.
If you’d like to see how Filestage could help you in post-production, schedule your demo today.