TL;DR
Video workflow management covers all the operational steps that keep your video production process moving, from idea to publication. By structuring your process into clear stages (planning, production, post-production, approval, and distribution), assigning ownership, and centralizing feedback, you can set your team up for success from Day One.
To keep things running smoothly, focus on strong communication, integrated tools, automation, and a single source of truth. That way, your team spends less time fighting fires and more time creating great videos.
Why video workflow management is important
Quality video content is one of the best ways to get eyes on your brand – 85% of people have been convinced to buy a product or service by watching a video. But it’s also one of the most resource-heavy types of content to make. So unless you want to end up scrambling behind the scenes, you need a reliable video workflow management process.
Video workflows help your team stay on track by making sure everyone knows what to do and when to do it. In this article, you’ll learn how to build a solid workflow, avoid common mistakes, and keep your video projects rolling.
Let’s get stuck in.
What is video workflow management?
With so many different workflows out there, you might be wondering what video workflow management actually is. Simply put, it’s how you keep your video production process moving from the initial idea all the way through to hitting “publish”.
It’s different from a video production workflow. That’s the creative side (writing scripts, filming, editing). A video workflow helps you get those steps done as quickly and efficiently as possible. It’s the operational bit that keeps everything running smoothly.
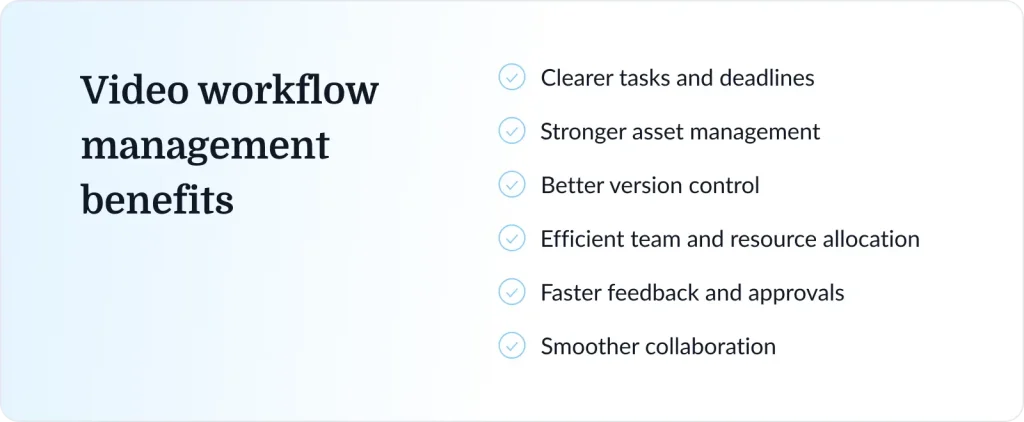
Done well, a video collaboration helps you keep on top of:
- Tasks and deadlines
- Asset management and organization
- Version control
- Team and resource allocation
- Feedback and approvals
- Collaboration across projects
Supercharge your video review rounds
Get point-and-click feedback on your video edits with Filestage.
Five common challenges of video workflow management
While you don’t need a crystal ball to future-proof your video process, you do need to be aware of potential pitfalls ahead of time. For that, I’ve pulled together five of the most common challenges that tend to trip teams up and slow things down.
1. Unclear roles and responsibilities
If you’ve ever worked on a project where ownership wasn’t clearly defined, you’ll know just how quickly tasks can fall through the cracks or get duplicated. This then opens the door to delays, confusion, and frustration across teams.
2. Scattered feedback
We’ve all been there … feedback coming from emails, chats, and different documents makes it hard to keep up to date with changes. Important notes get lost, and teams spend more time chasing comments than actually implementing them.
3. Version control issues
Nothing kills productivity like working on outdated project files. One wrong version, and you’re backtracking, fixing work that was already done, or worse, undoing someone else’s progress.
4. Slow approval processes
When approvals aren’t streamlined, videos can sit waiting for review for far too long. Needless to say, this slows down delivery and can stop entire projects from moving forward. I’ll share some tips on how to speed up your approvals in just a sec.
5. Disconnected tools and systems
When it comes to your video workflow software, you want to go for quality over quantity. Hopping between a bunch of disconnected tools wastes time and increases the risk of miscommunication or missed updates.
How to set up your video workflow (with tips)
A strong workflow is like the Marie Kondo of video production. It brings order to what could otherwise be a complete mess by turning scattered tasks into a clear, structured process.
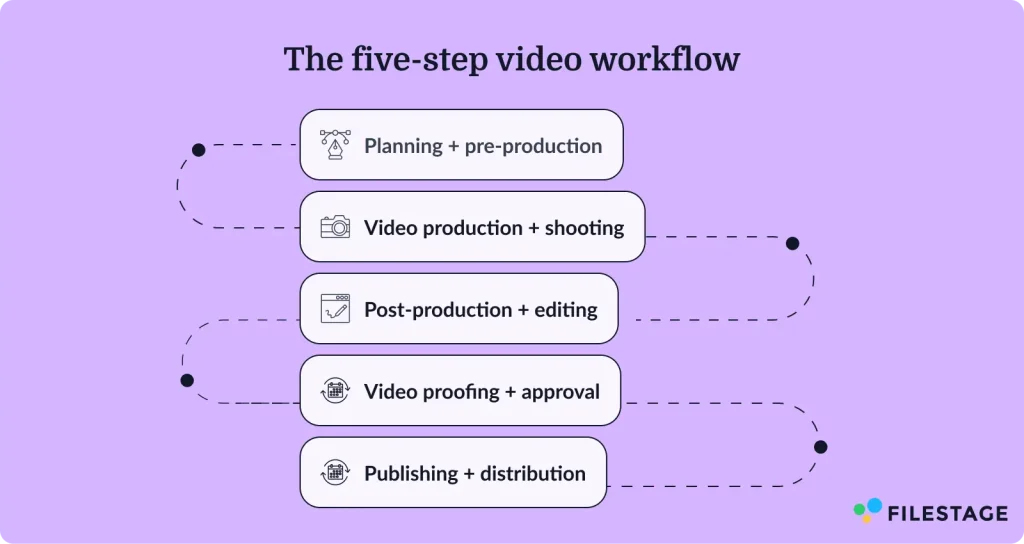
With that said, let’s look at how to set up your video workflow. To make this section easier to follow and implement, I’ve broken it down into five key stages:
- Planning and pre-production
- Video production and shooting
- Post-production
- Video proofing and approval
- Publishing and distribution
1. Planning and pre-production phase
Before you start making your video, you need to set it up for success with a proper plan. The pre-production stage is all about defining the core elements of your project and how it will come to life.
Here’s a checklist of some key areas to think about when planning your next video:
- Goals and success metrics
- Target audience
- Key messaging
- Script or outline
- Timeline and budget
- Roles and responsibilities
The goal is to remove ambiguity before filming begins. The more clarity you build in pre-production, the fewer problems you’ll run into later.
Tip: Create a shared brief or project document that lives in one central place. This makes sure everyone’s aligned, from creative to stakeholders.
2. Video production and shooting
After the pre-production phase, you’re ready to start filming your raw footage.
Depending on the type of video you’re making, your footage might include:
- Filming scenes or interviews
- Capturing B-roll footage
- Recording audio or voiceovers
- Managing lighting, framing, and camera settings
Attention to detail is key here, as things can easily fall through the cracks on set.
Tip: Use a shot list or production checklist to keep your shoot focused and ensure you don’t miss any key shots. It also saves time (and budget) by reducing reshoots and rogue setup changes.
3. Post-production stage
So you’ve got your raw footage. Now it’s time to turn those shots into a finished video.
The post-production stage typically includes:
- Assembling the rough cut
- Refining edits and pacing
- Adding transitions, effects, and graphics
- Incorporating music and sound design
- Color correction and final adjustments
You’ll likely be working with different sound design, motion graphics, and creative teams at this stage. So prepare to get your collaboration hat on!
Tip: Standardize your editing process with templates, presets, or style guides. This helps maintain consistency across projects and speeds up editing time. It also makes it easier for teams to collaborate and hand off work.
4. Video proofing and approval
The goal in this stage is to share a first draft of your video with stakeholders and collect specific feedback about what to improve. Sounds pretty simple, right?
Turns out, video proofing can actually be the most painful part of the creative process (scattered feedback … file version mx-ups …). If you can relate, the tip below will make your life a lot easier.
Tip: Use a dedicated video review tool like Filestage to centralize feedback and approvals. It allows stakeholders to leave time-stamped comments directly on the video so the feedback is clear, actionable, and easy to implement.

Here’s how to get started with Filestage in five steps:
- Start for free and create a project
- Upload the files you want to review
- Set up Reviewer Groups (stakeholders for each stage)
- Invite reviewers and set deadlines
- Review, track, and approve your video
Supercharge your video review rounds
Get point-and-click feedback on your video edits with Filestage.
5. Publishing and distribution
Okay, now the finish line is in sight. It’s time to get your shiny new video assets live for the world to see.
This includes:
- Exporting the final version in the right format
- Uploading to platforms (YouTube, social media, internal tools)
- Adding titles, descriptions, and tags
- Adapting content for different channels
Tip: Create a distribution checklist to ensure consistency across platforms. This can include things like formatting requirements, captions, thumbnails, and metadata.
You can also repurpose your content across channels to get more value from each video.
Five best practices for smooth workflow management
Once you’ve got your workflow set up, the next step is making sure it actually runs smoothly day to day. Because even the best plans can fall to pieces if they’re not managed properly.
To help you keep your video projects moving in the right direction, I’ve put together a checklist of five best practices.

1. Set clear roles and responsibilities
If everyone’s responsible for your video project, no one is. So one of the quickest ways to tighten your workflow is to start prioritizing clear ownership.
Make it clear who owns each stage of the process, from planning and production through to approvals and publishing. This could be as simple as assigning one clear owner per task to keep things accountable and avoid unnecessary back-and-forth.
2. Ensure smooth communication and collaboration
It takes a village to make great video content. And with so many moving parts, things can get chaotic if you’re not careful.
When communication is scattered across different platforms and random documents, things slow down fast. So the goal is to keep conversations in one place, where everyone can see what’s happening.
The good news? This is actually pretty easy to do. Just get yourself a video collaboration software that lets you gather comments, feedback, and decisions so everyone’s on the same page.

3. Use integrations
From planning and project management to editing and reviews, your team likely uses a few different software tools to make video content. And if these tools don’t work together, you end up doing a lot of manual work just to keep things in sync.
To iron out these kinks in your workflow, look for tools that integrate with your existing stack, especially between your creative tools and your video review and approval platform.
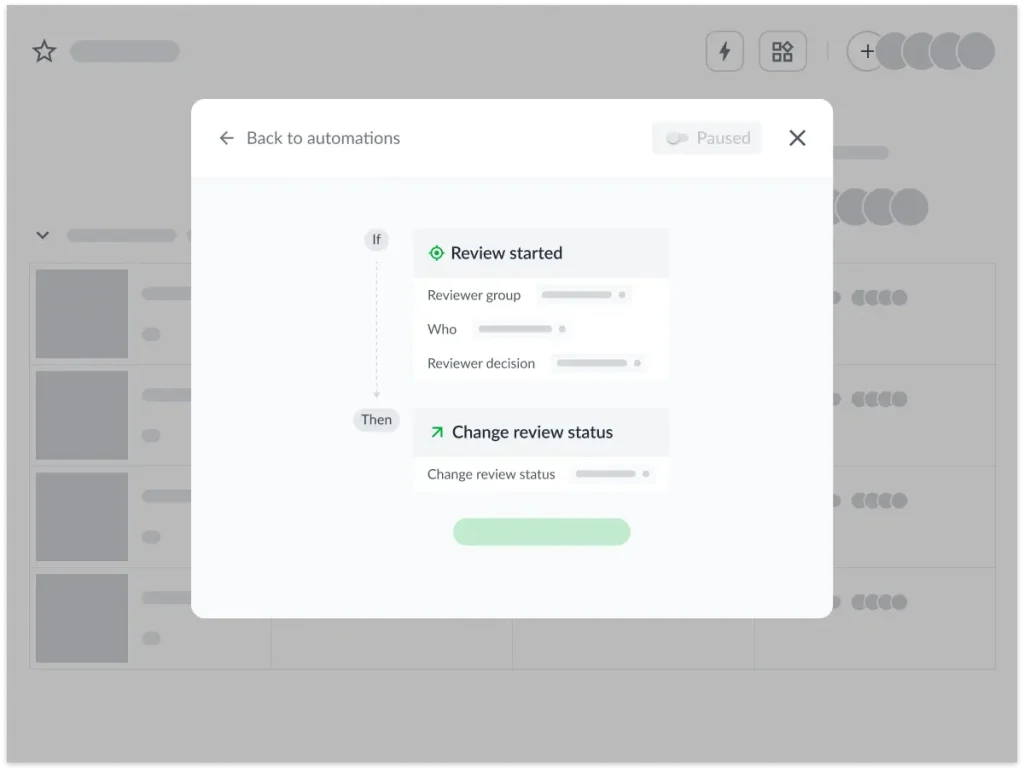
4. Automate repetitive tasks
There are a lot of routine tasks in video production. But thankfully, most of them can be automated.
While it takes some time to search for and set up automations in your video production management software, it’s so worth it in the long run.
If you’re unsure of where to start, just automate one or two repetitive tasks first (like approval reminders), and build from there.
5. Have a single source of truth
If someone’s asking, “Where’s the latest version?” you’re already on shaky ground …
A smooth workflow needs one central place where everyone can find the latest files, feedback, and project updates. Filestage is perfect for this, as it gives you one centralized platform where you can keep all your assets, comments, and approvals.
Video workflow management, simplified
I hope this article has convinced you that video project management doesn’t need to be messy. With a clear structure, the right tools, and a few solid habits in place, you can turn a complex process into something smooth and productive.
Speaking of the right tools, if you’d like to see how Filestage can help you review and approve videos (and all your other files) faster, start your free trial.
FAQs
What does a typical video editing workflow look like?
Your typical video editing workflow starts with importing and organizing footage, followed by creating a rough cut. From there, editors refine the sequence, add transitions, sound, and graphics, and apply color correction.
Once a polished version is ready, you can share it for feedback (most videos usually go through a few rounds of revisions before final approval). Then you just need to export and launch your masterpiece on your chosen channels.
How can editors, producers, and clients review videos efficiently?
The best way to review videos is by using an online video feedback platform like Filestage. Instead of sharing feedback across emails and messages, everyone can leave comments directly on the video. This keeps feedback clear, contextual, and easy to act on, especially when multiple stakeholders are involved.
How can teams track feedback and approvals for video edits?
You can track feedback and approvals using tools that offer asset management and approval workflows. These tools show which version is current, what feedback has been addressed, and whether a video has been approved. Having everything in one place clears confusion and keeps the process moving.
How can I standardize workflows across multiple teams or departments?
Start by documenting your workflow, each stage, who’s responsible, and which tools are used. Then create templates, checklists, and guidelines that every team can follow. Consistency is key. The more standardized your process, the easier it is to scale.
How can I manage video assets for video edits?
Version control is a lot easier when all files live in one centralized system. Each version should be clearly labeled and stored in order, so there’s no confusion about which one is the most recent. Limiting who can upload or replace files can also help prevent mix-ups.
What parts of video workflows can be automated?
You can automate lots of different tasks in the video production workflow, like:
– Review and approval reminders
– Status updates
– Stakeholder notifications
– File organization