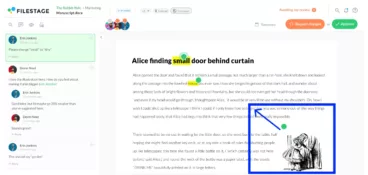
When it comes to giving feedback on a document, it can be tricky to explain what you mean using words alone. That’s where annotations come in.
Whether you’re reviewing a Word document, a PDF file, or any other type of document, using annotations to share your feedback makes the entire process clearer, easier, and even – dare I say it – more enjoyable.
Particularly with the help of specially-designed annotation tools.
In this guide I’ll get you acquainted with some of the best software on the market. I’ll then walk you through how to annotate a document in three simple steps.
But first, let’s start with the basics.
What is document annotation?
Document annotation is the process of adding helpful notes to a document to share your thoughts or suggestions as part of the document review process. With the help of professional annotation software, users can highlight errors, suggest revisions, or add comments, all in one file.
Annotations might include written comments, drawings, sticky notes, and the use of highlighters and strikethroughs.
The purpose of document annotation is to make feedback easier to give and clearer to receive. It’s a great way to collaborate with multiple stakeholders, as everyone involved can clearly see, understand, and respond to the feedback provided.
Supercharge your document review rounds
Get point-and-click feedback on your documents with Filestage.
Why should you use a professional document annotation tool?
If you’ve ever tried annotating a document manually, without a specialized tool, you’ll know how hard it can be to give crystal-clear feedback.
Long-winded comments. Accidental edits. Unclear screenshots.
It’s confusing for you, let alone the person on the receiving end of the feedback.
With a PDF makrup software, you can use tools to highlight, strike through, add shapes and emojis, and even draw freehand directly on top of the content. You’ll bring your comments to life, and make your feedback infinitely clearer.
What features do you need for annotating documents?
There are a wide variety of document annotation tools on the market, each offering a number of different annotation features.
Useful features to look out for in a professional document annotation software solution include:
- A comment tool
- A highlighter tool
- Markup tools
- Real-time collaboration, where users can discuss screen annotations online
- A copy-and-paste tool for text
- Sticky notes
- A strikethrough text function
- A drawing tool
- A bank of shapes – including arrows, lines and circles (to make it clear which area of the document your comment refers to)
With these key features in mind, let’s take a look at the best software available for your business in 2023.
Five document annotation software solutions to simplify your workflows
Here are five of the best visual content tools to use as part of the annotation process.
1. Filestage
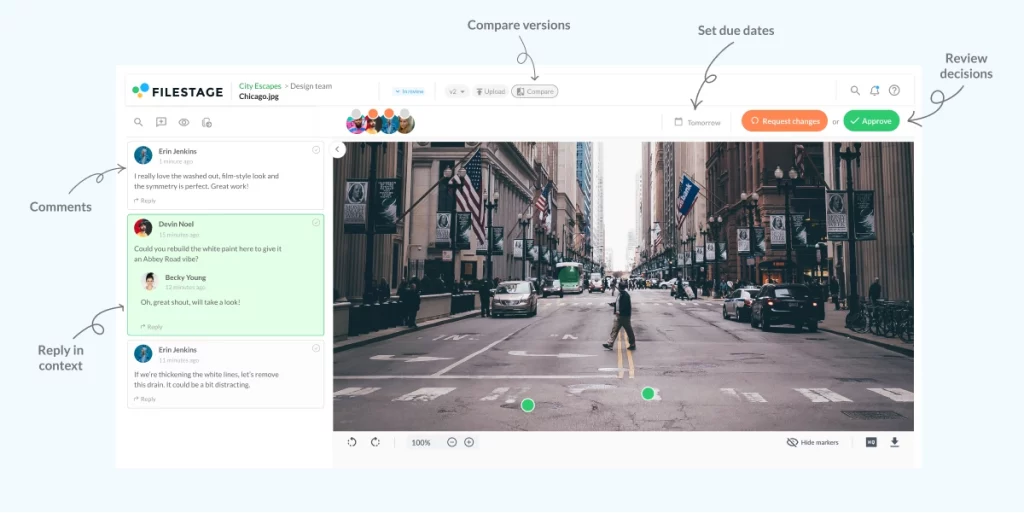
Filestage is a document review and approval platform that makes it easy to give clear, in-context feedback. It offers everything you need in the way of document annotation features, including sticky notes, a highlighter tool, a strikethrough text feature, and a bank of shapes.
Tap anywhere on the file to leave a comment, and draw directly on top of the document to bring your comments to life. You can even upload attachments to your comments, helping to keep everything related to this project together in one place.
The best part is that feedback can be discussed in real-time with other reviewers, eliminating misunderstandings and saving a lot of time in the process. And with document version control built in, you can see and compare all your versions and comments with ease.
Filestage supports a wide range of documents, including PDF, PDF/X, DOC, DOCX, XLSX, and PPTX. You can also use live website reviews to get feedback and approval on documents in Office 365 and Google Docs.
And of course, Filestage also lets you annotate video, images, audio, and HTML content.
Pricing
Filestage offers four different pricing plans:
- Free plan – With unlimited files, versions, and reviewers
- Basic plan – Starts at $49/month and includes more projects and storage
- Professional plan – Starts at $249/month and includes more storage and other advanced features like compare versions and automation
- Enterprise plan – Custom pricing (contact sales)
2. Adobe Acrobat
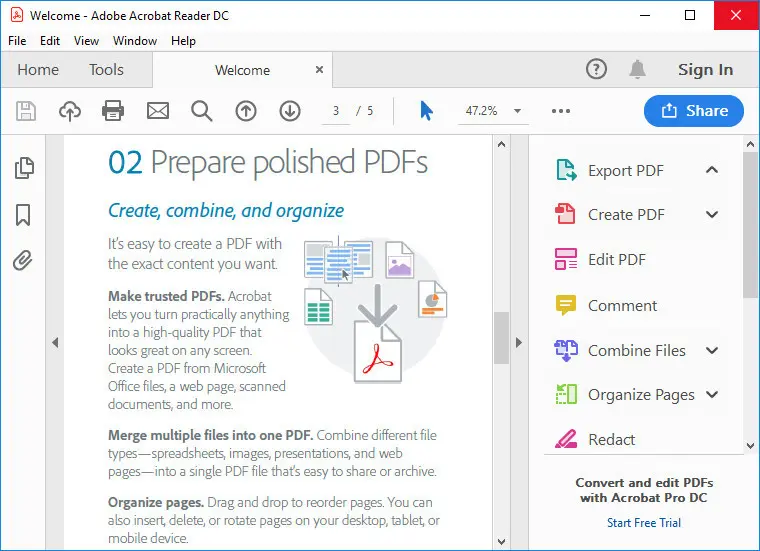
Adobe Acrobat is the pre-installed PDF viewer on most Windows devices, and it can also be used to annotate PDF files. The software features an array of handy annotation tools, including text boxes, sticky notes, and an underline text function.
Reviewers can comment from any device using the Acrobat Reader mobile app or from any browser like Google Chrome – without having to sign in or download software. Multiple reviewers can leave comments and annotations in a single shared online PDF, or it can be hosted on Microsoft SharePoint if your business has a Microsoft 365 subscription.
Pricing
Adobe Acrobat Standard subscriptions start at $12.99/month, and pro subscriptions start at $19.99/month.
3. Annotate
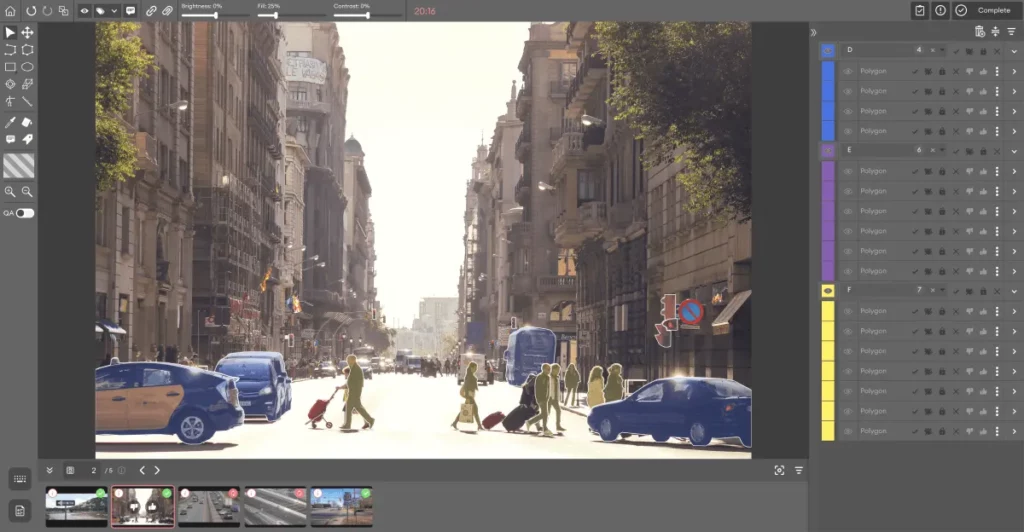
Annotate is another document annotation tool that allows you to highlight, underline, and comment on any file. You can manage notes in a document by creating color-coded tags to group by topic, filtering them and assigning them to specific team members to action. You can discuss any changes there and then, and resolve issues quickly.
Pricing
Annotate offers a free plan for up to three users and 30 MB of safe storage space. To upgrade to a paid plan, you’ll need to contact their sales team, and pricing will be based on your own unique requirements.
4. Markup Hero
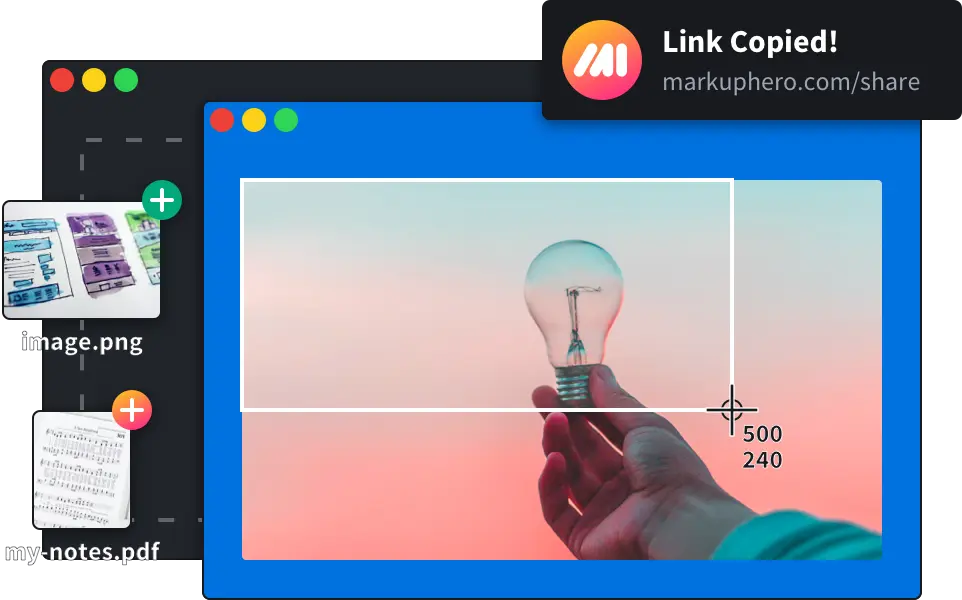
Markup Hero is a fast and easy-to-use annotation tool that allows you to comment on PDFs and images, with arrows, shapes, and text. It’s designed for the web, and it works on any browser. Speed is the name of the game here, with a focus on helping you capture ideas, communicate clearly, stay organized, and collaborate with other users for a super-charged workflow.
Pricing
Markup Hero offers a free plan, or you can upgrade for access to additional tools from $4/month
5. ClickUp
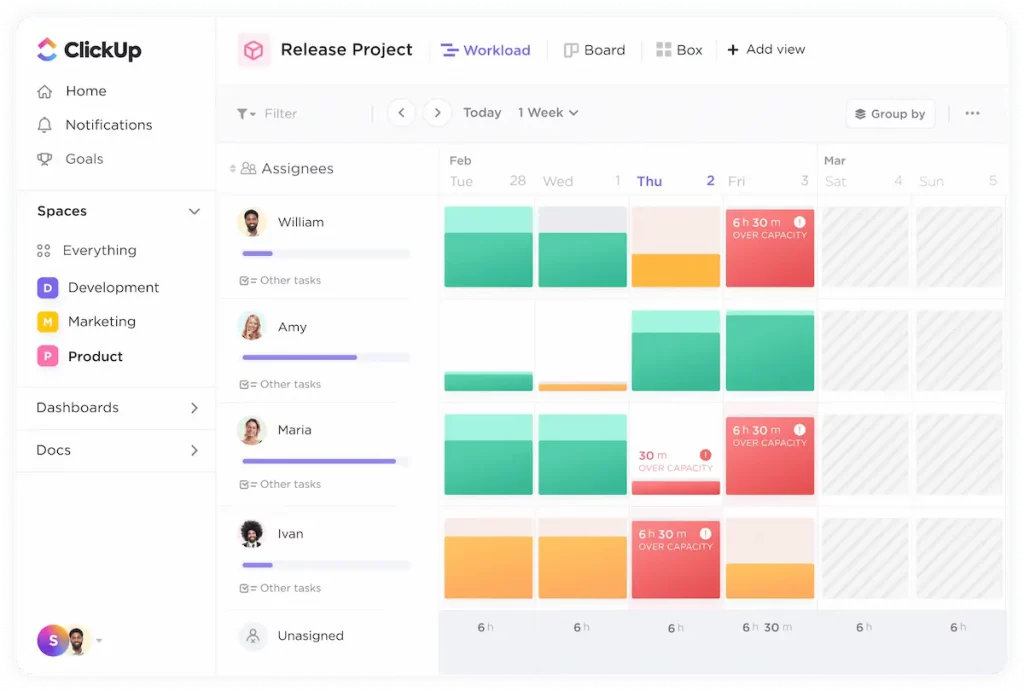
It may not have as many annotation features as the others in this list, but ClickUp is still a useful tool when it comes to annotating documents. With ClickUp’s Annotation feature, you can add in-context comments to PDF files and images, and you can view annotations together as a list in the To Do section. Instantly import documents from other tools automatically, and work with your team in real time as you annotate and edit the file.
If, on the other hand, you wish to annotate your Word documents, check out the Word annotation guide.
Pricing
There’s a free plan available, or paid plans start at $5/user per month.
How to annotate a document and add comments in three steps
Annotating documents is easy when you know how. Over the next three steps, I’ll show you how to sign up for a free annotation tool, upload your document, and start adding annotations.
Let’s go!
1. Sign up for Filestage (it’s free)
We’ve all agreed that the document annotation process is much more effective with the help of a professional tool. So the first thing you need to do is sign up for Filestage. When you sign up, you’ll get access to our Free plan.
This allows you to create two projects, where you can:
- Share unlimited documents
- Invite unlimited team members to collaborate with
- Invite unlimited reviewers to provide feedback and give approval
- Add unlimited comments and annotations
On top of that, you’ll also get access to a seven-day Professional trial. This gives you access to more advanced features like custom branding, review reports, and automations.
2. Upload your first document
Next up, create your first project and upload your first file. You can upload from your hard drive, Dropbox, or Google Drive.
3. Start annotating
You’re all set to start annotating! Use your mouse to click wherever you want in the file or to highlight the text you want to annotate. Then choose your preferred tool from the annotation box.
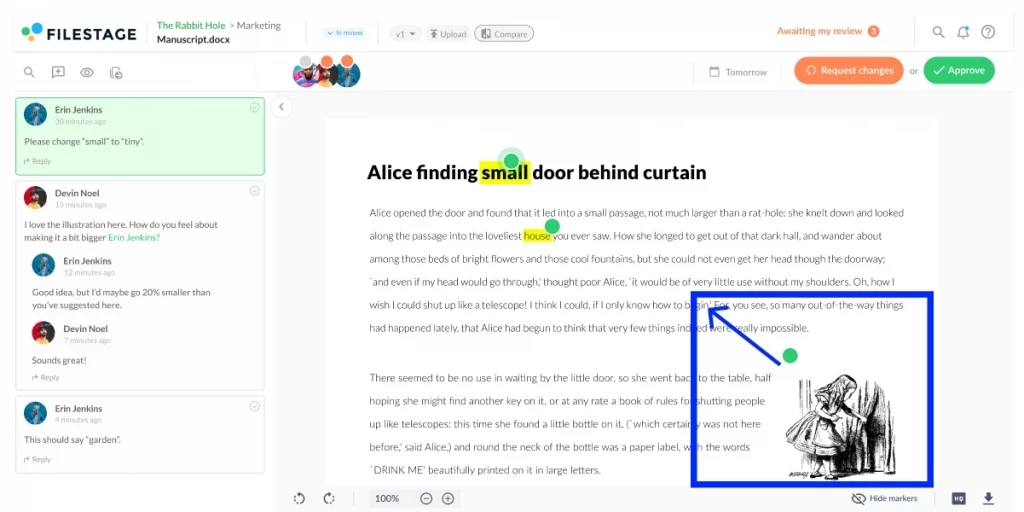
You can add:
- Comments
- Boxes
- Arrows
- Lines
- Freehand drawings
- Highlights and strikethroughs
You can also choose to upload attachments to your comments. Or you might want to tag another member in the project by @mentioning them with their email address.
Once you’ve finished an annotation, click on the Save comment button or use the keyboard shortcut Ctrl + Enter.
Final thoughts
I hope you’ve enjoyed learning about annotating documents as part of the review process. With the right annotation tool, the entire process becomes that much easier. You’ll be able to leave crystal-clear feedback, collaborate effectively with other reviewers, and ultimately turn your document into the best version of itself.
If you’d like to see for yourself how Filestage can help you with document annotation, start a free trial →


